Alexander
Last Update a year ago
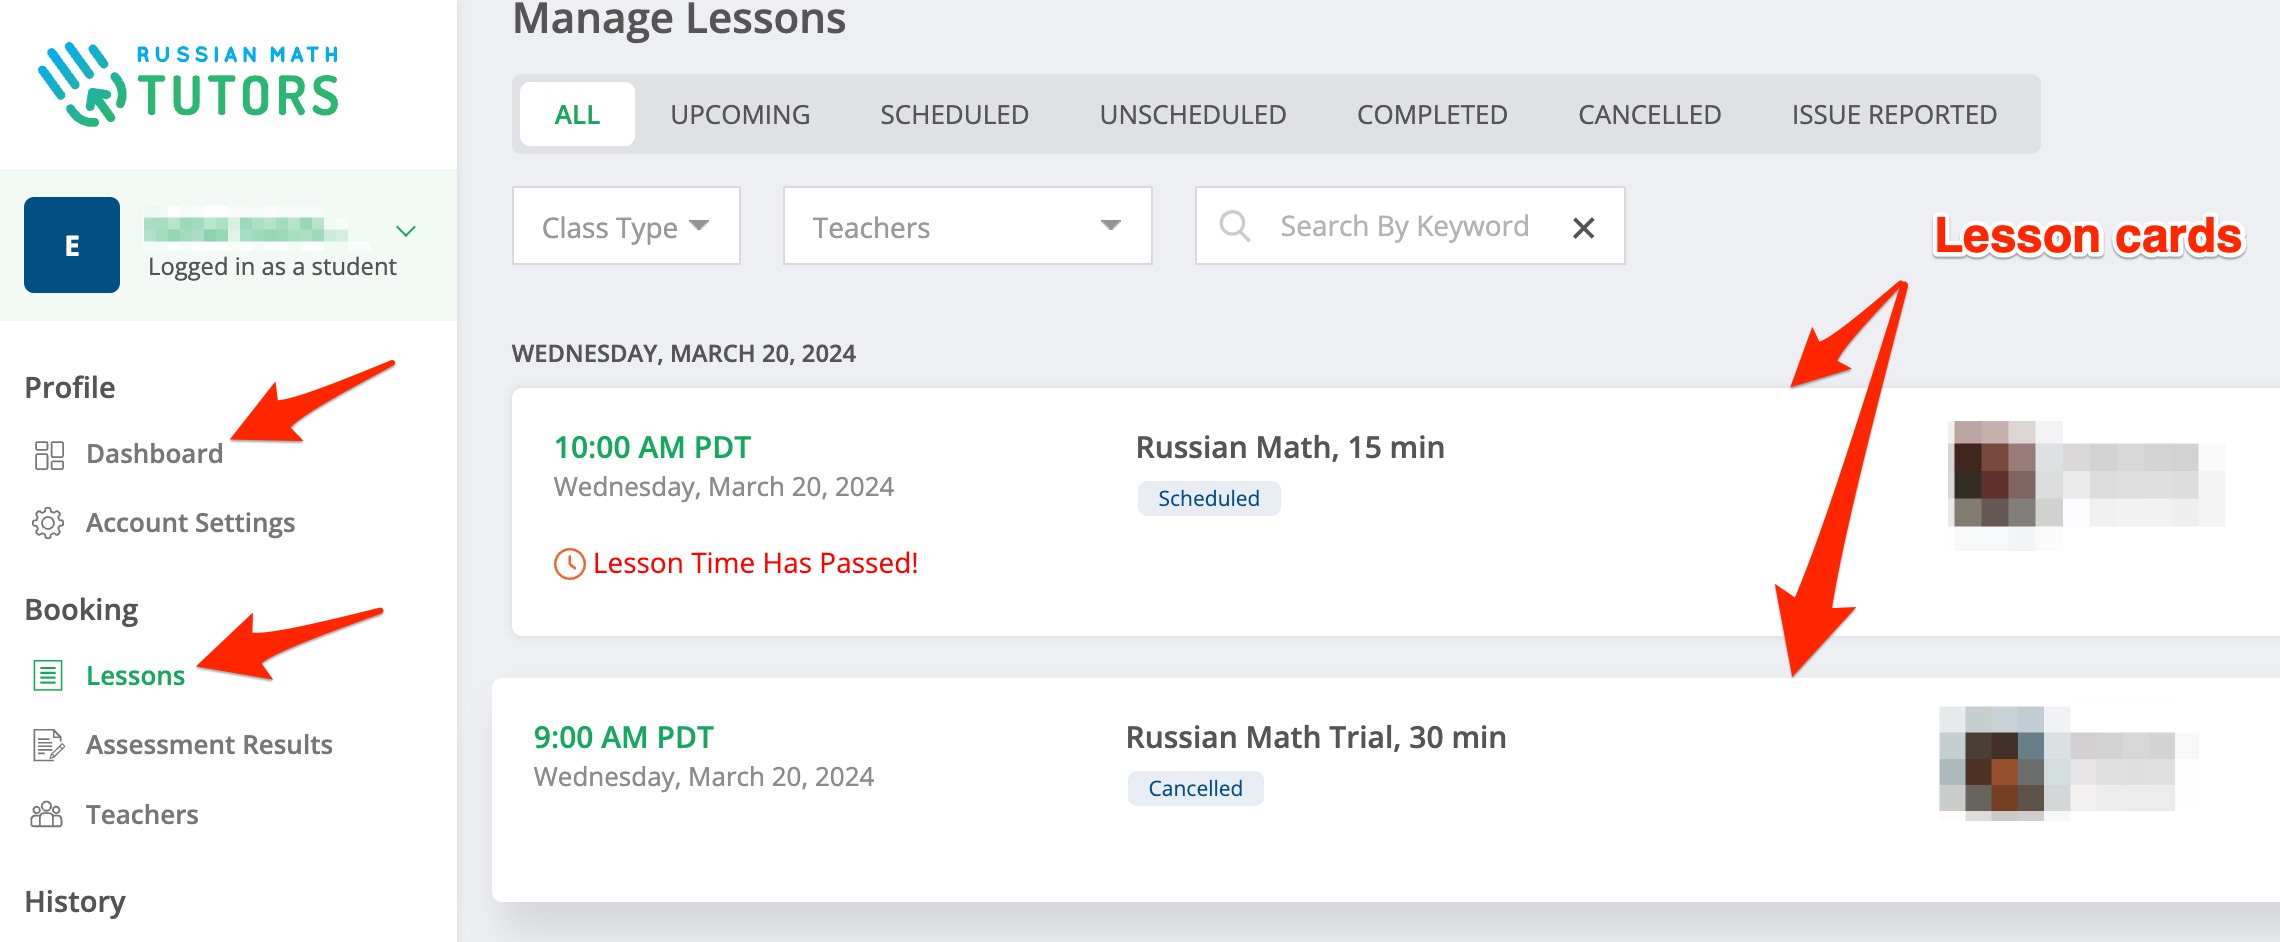
The platform creates a lesson card for each lesson that the student buys. Students can find these lesson cards on either the Dashboard or on the Lessons screen.
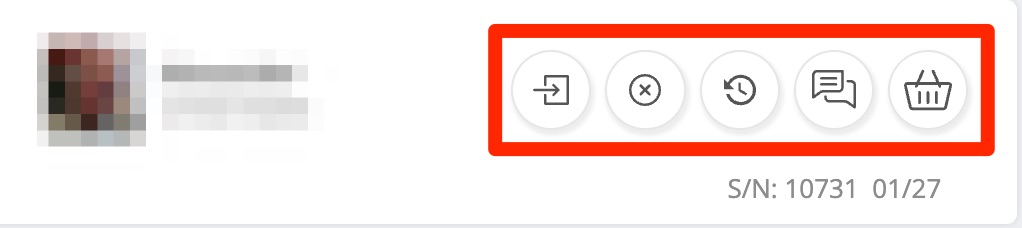
Each lesson card has multiple round buttons. These buttons can be used to cancel or reschedule a lesson or buy more lessons from the same teacher. The circular clock icon specifically opens the teacher's availability calendar for scheduling or rescheduling your lesson.
The lesson card interface is designed to give you quick access to all lesson management functions in one convenient location. When you purchase lessons, they initially appear as unscheduled cards showing the teacher's name, lesson duration, and subject. The circular clock button is prominently displayed on each card and is the primary way to schedule your purchased lessons at a time that works for both you and your teacher.
Clicking the clock icon opens an interactive calendar view showing your teacher's available time slots. The calendar displays availability in your local timezone and is updated in real-time, so you'll always see the most current scheduling options. You can select any available slot that fits your schedule, and the system immediately confirms the booking. The lesson card then updates to show your confirmed lesson date and time, along with buttons to join the classroom, reschedule, or cancel if needed.
If you're having trouble locating your lesson cards, navigate to your main Dashboard after logging in. Scroll to the "My Lessons" section where all your purchased lessons are displayed. Alternatively, click on "Lessons" in the main navigation menu to see a dedicated page showing all your lesson cards organized by teacher and status. The clock icon remains visible on each unscheduled lesson card until you select a date and time for that lesson.
🤝 Need Additional Support?
Our comprehensive help documentation and support team are here to assist you.